Kandji is excited to announce Kandji Liftoff.
When a Mac is first enrolled into Kandji, settings are delivered, apps are installed, and security controls are configured. We know from customers that the setup experience is the second-highest driver in the volume of IT tickets generated. (Password resets are first, of course.) Liftoff is designed to help you address user confusion associated with the setup experience.
With Liftoff, you can share information with users about what’s happening during that first boot, so they know when the computer will be ready to use. And Kandji makes it easy to set up and deliver that experience. Liftoff doesn’t change what gets configured and installed on the Mac; it just tells the user what’s happening and what's left to do before the Mac will be ready for work.
For admins, Liftoff is a new library item in the Kandji web app. That’s where you can enable Liftoff and define the Blueprints it will apply to.
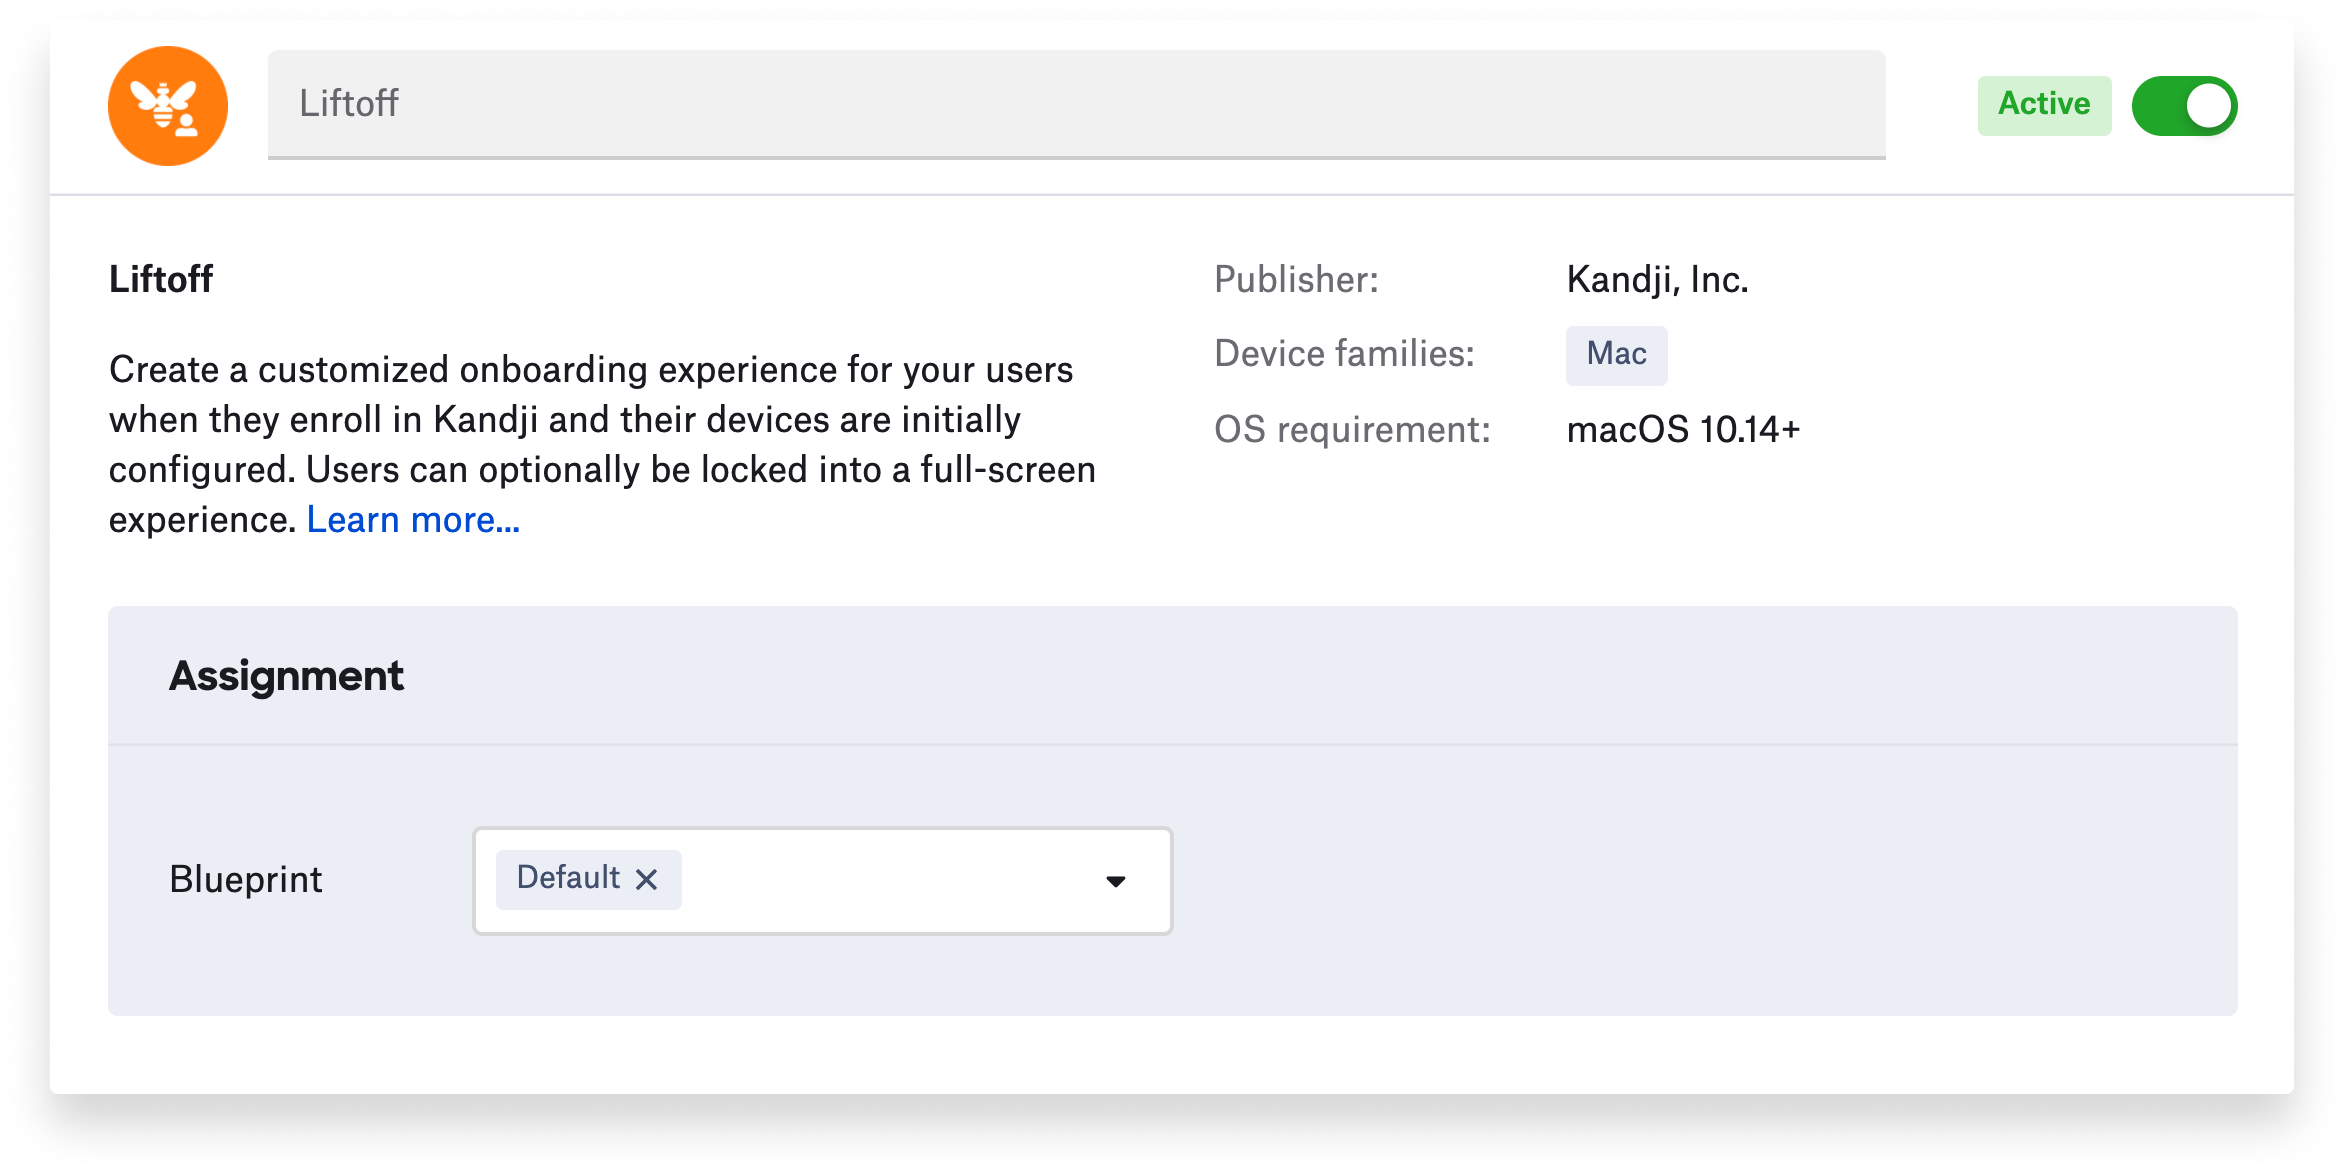
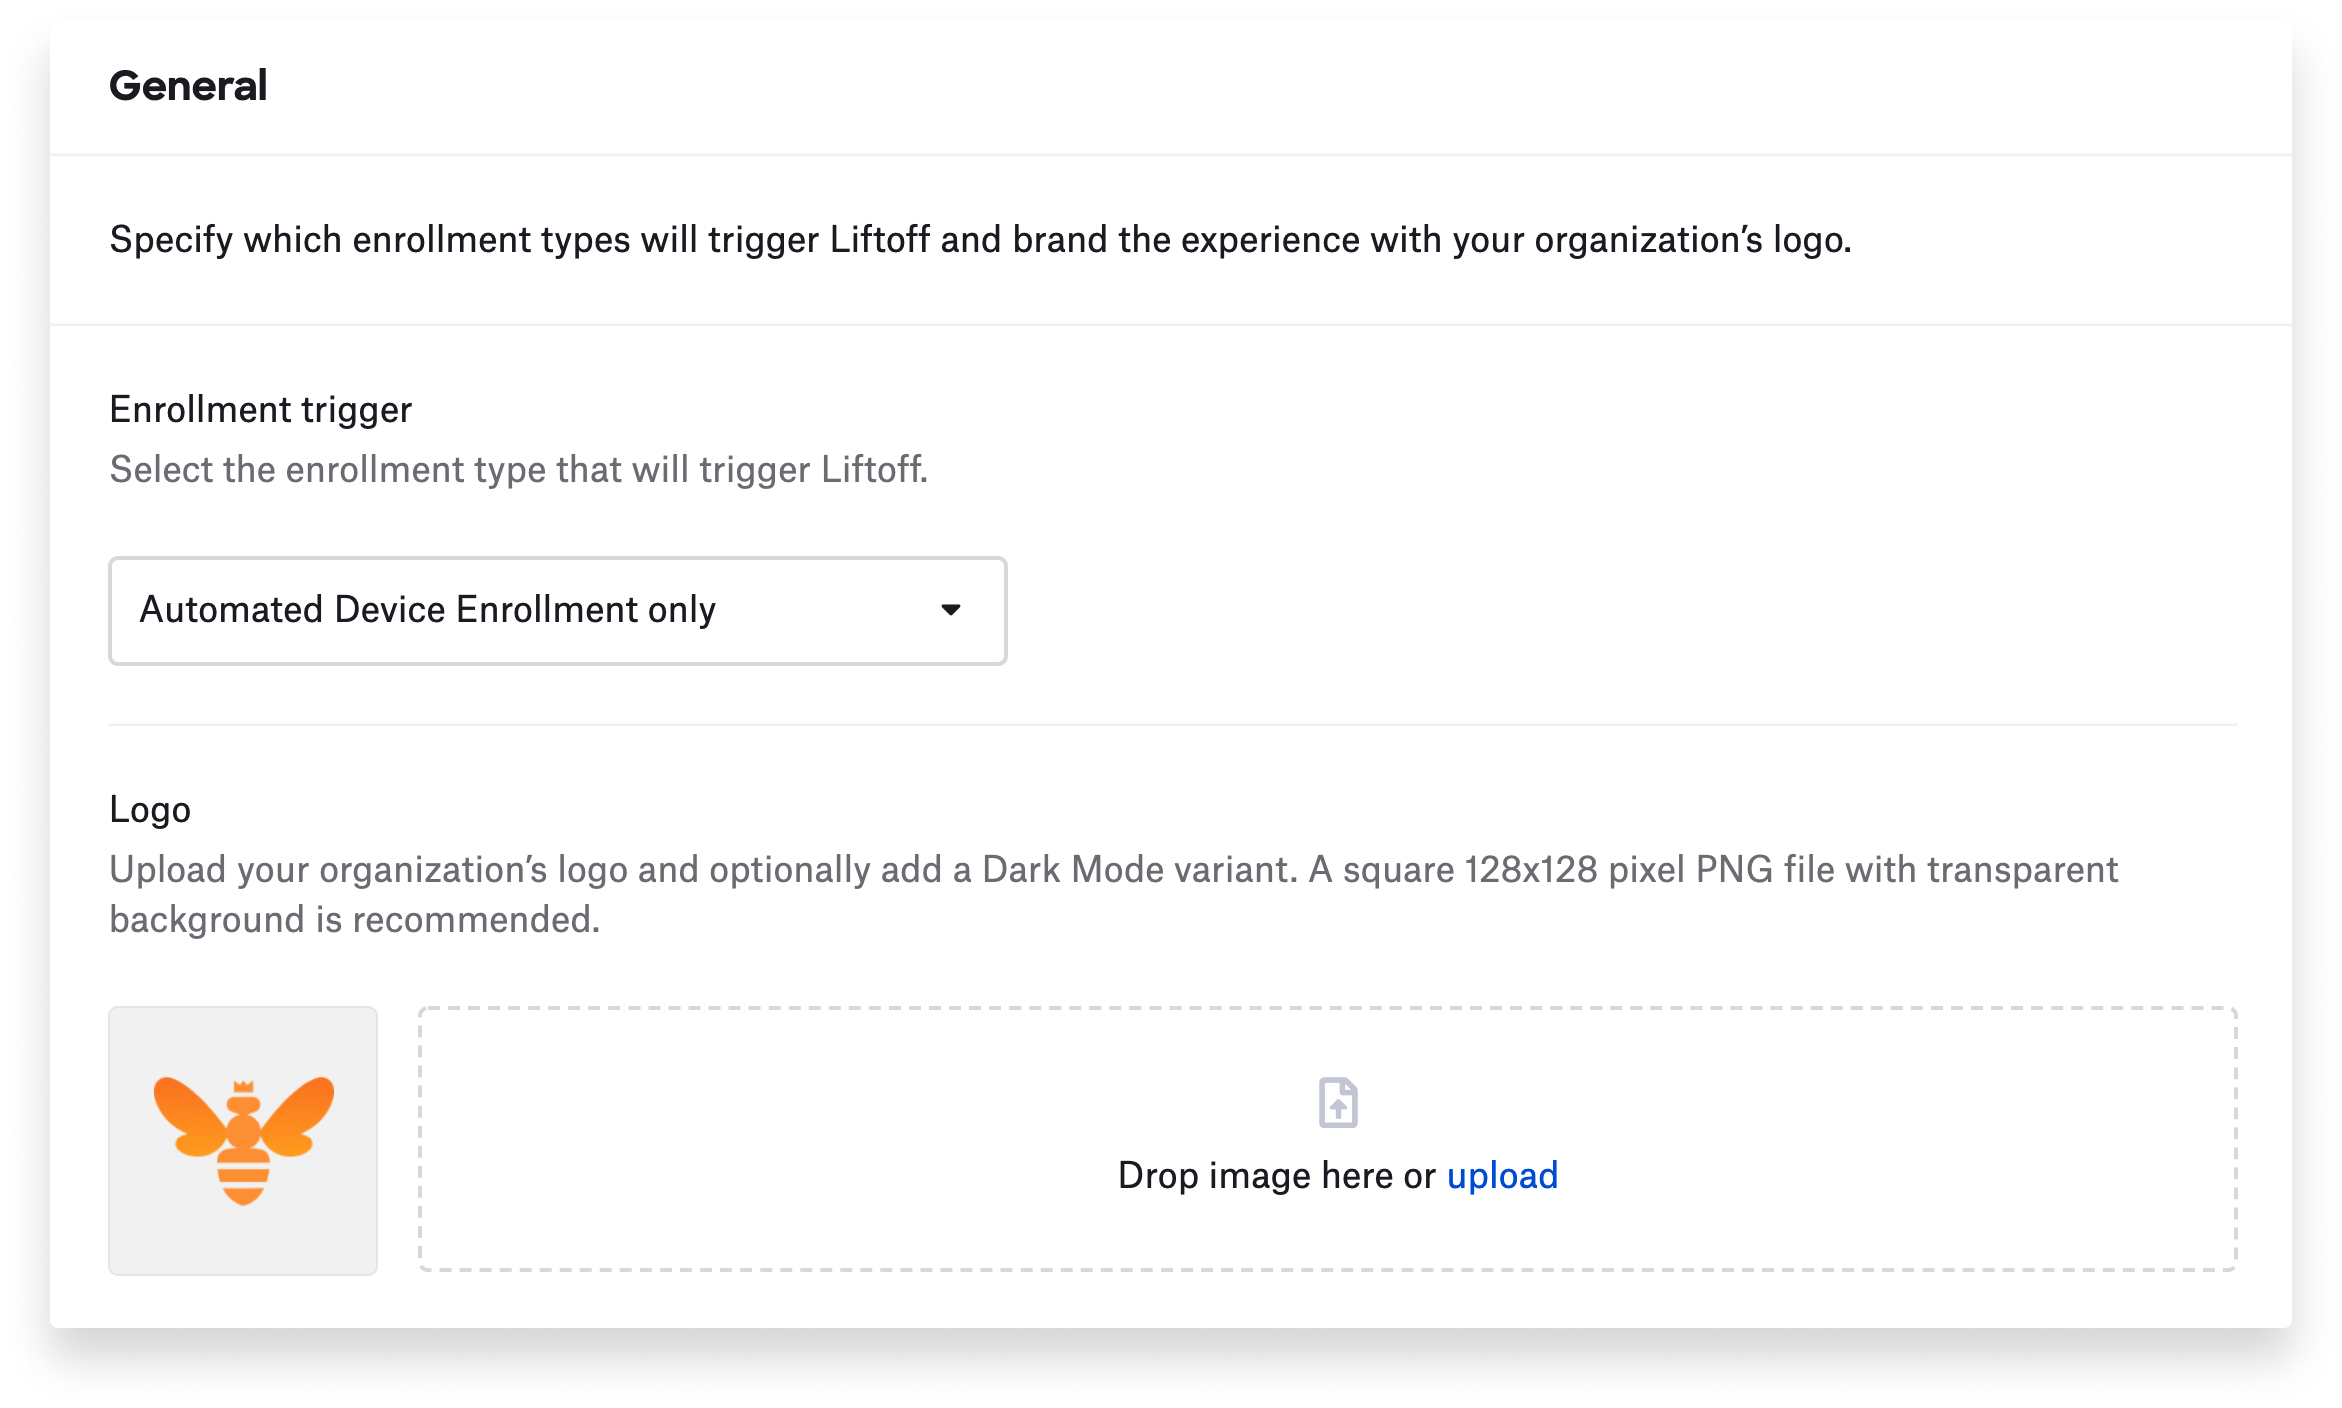
That’s also where you define the kinds of enrollments it will appear in; by default, it will be in effect for both Automated Device Enrollment and manual enrollment, but you can choose to implement it in just one or the other. You can then customize the screens that users see during the install process by adding a company logo or other graphic (ideally, a square 128x128 pixel PNG file with transparent background). If your logo has a transparent background, Kandji will automatically figure out how to display it in Dark Mode; there’s also an option to add a different Dark Mode logo.
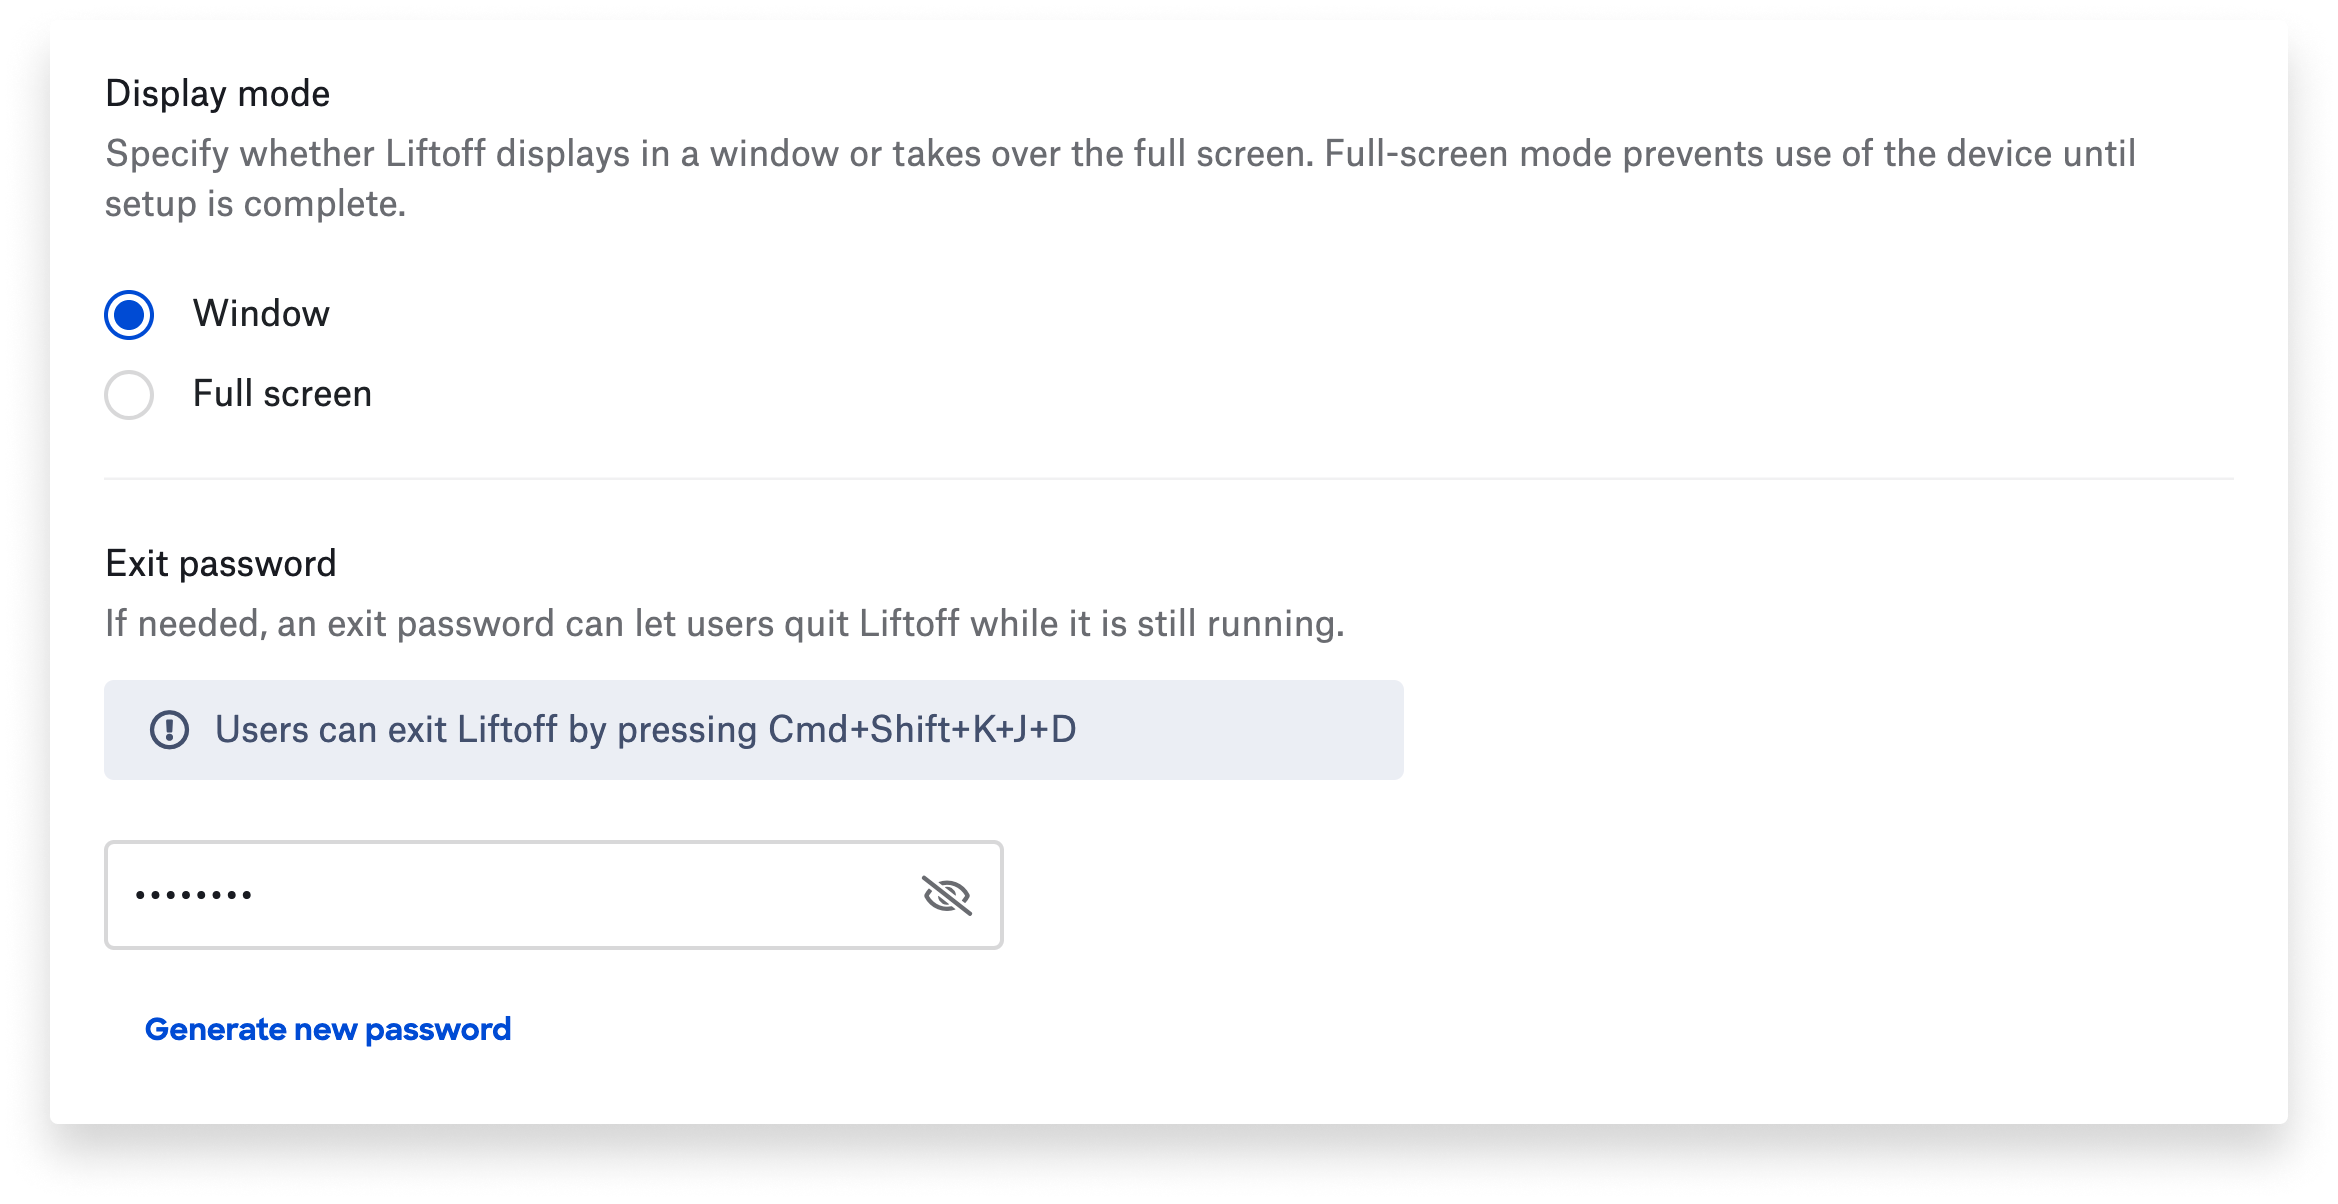
Next, you choose whether to have Liftoff appear on the user’s screen in either Window or Full Screen mode. In Full Screen mode, users are guided not to use their Mac until it’s completely configured. Windowed mode is great for testing: You're able to open apps like Terminal and Console while Liftoff displays information about the installation process.
Liftoff offers an exit password, which is good for testing in Full Screen mode: Let’s say you have a custom script as part of the installation you’re testing, and it hangs. The Kandji agent will eventually assume that the script has failed, stop it, and move on to the next item in the Blueprint. If you don’t want to wait for the standard timeout to apply, you can press Command-Shift-K-J-D to display the exit prompt, then enter the password to quit Liftoff.
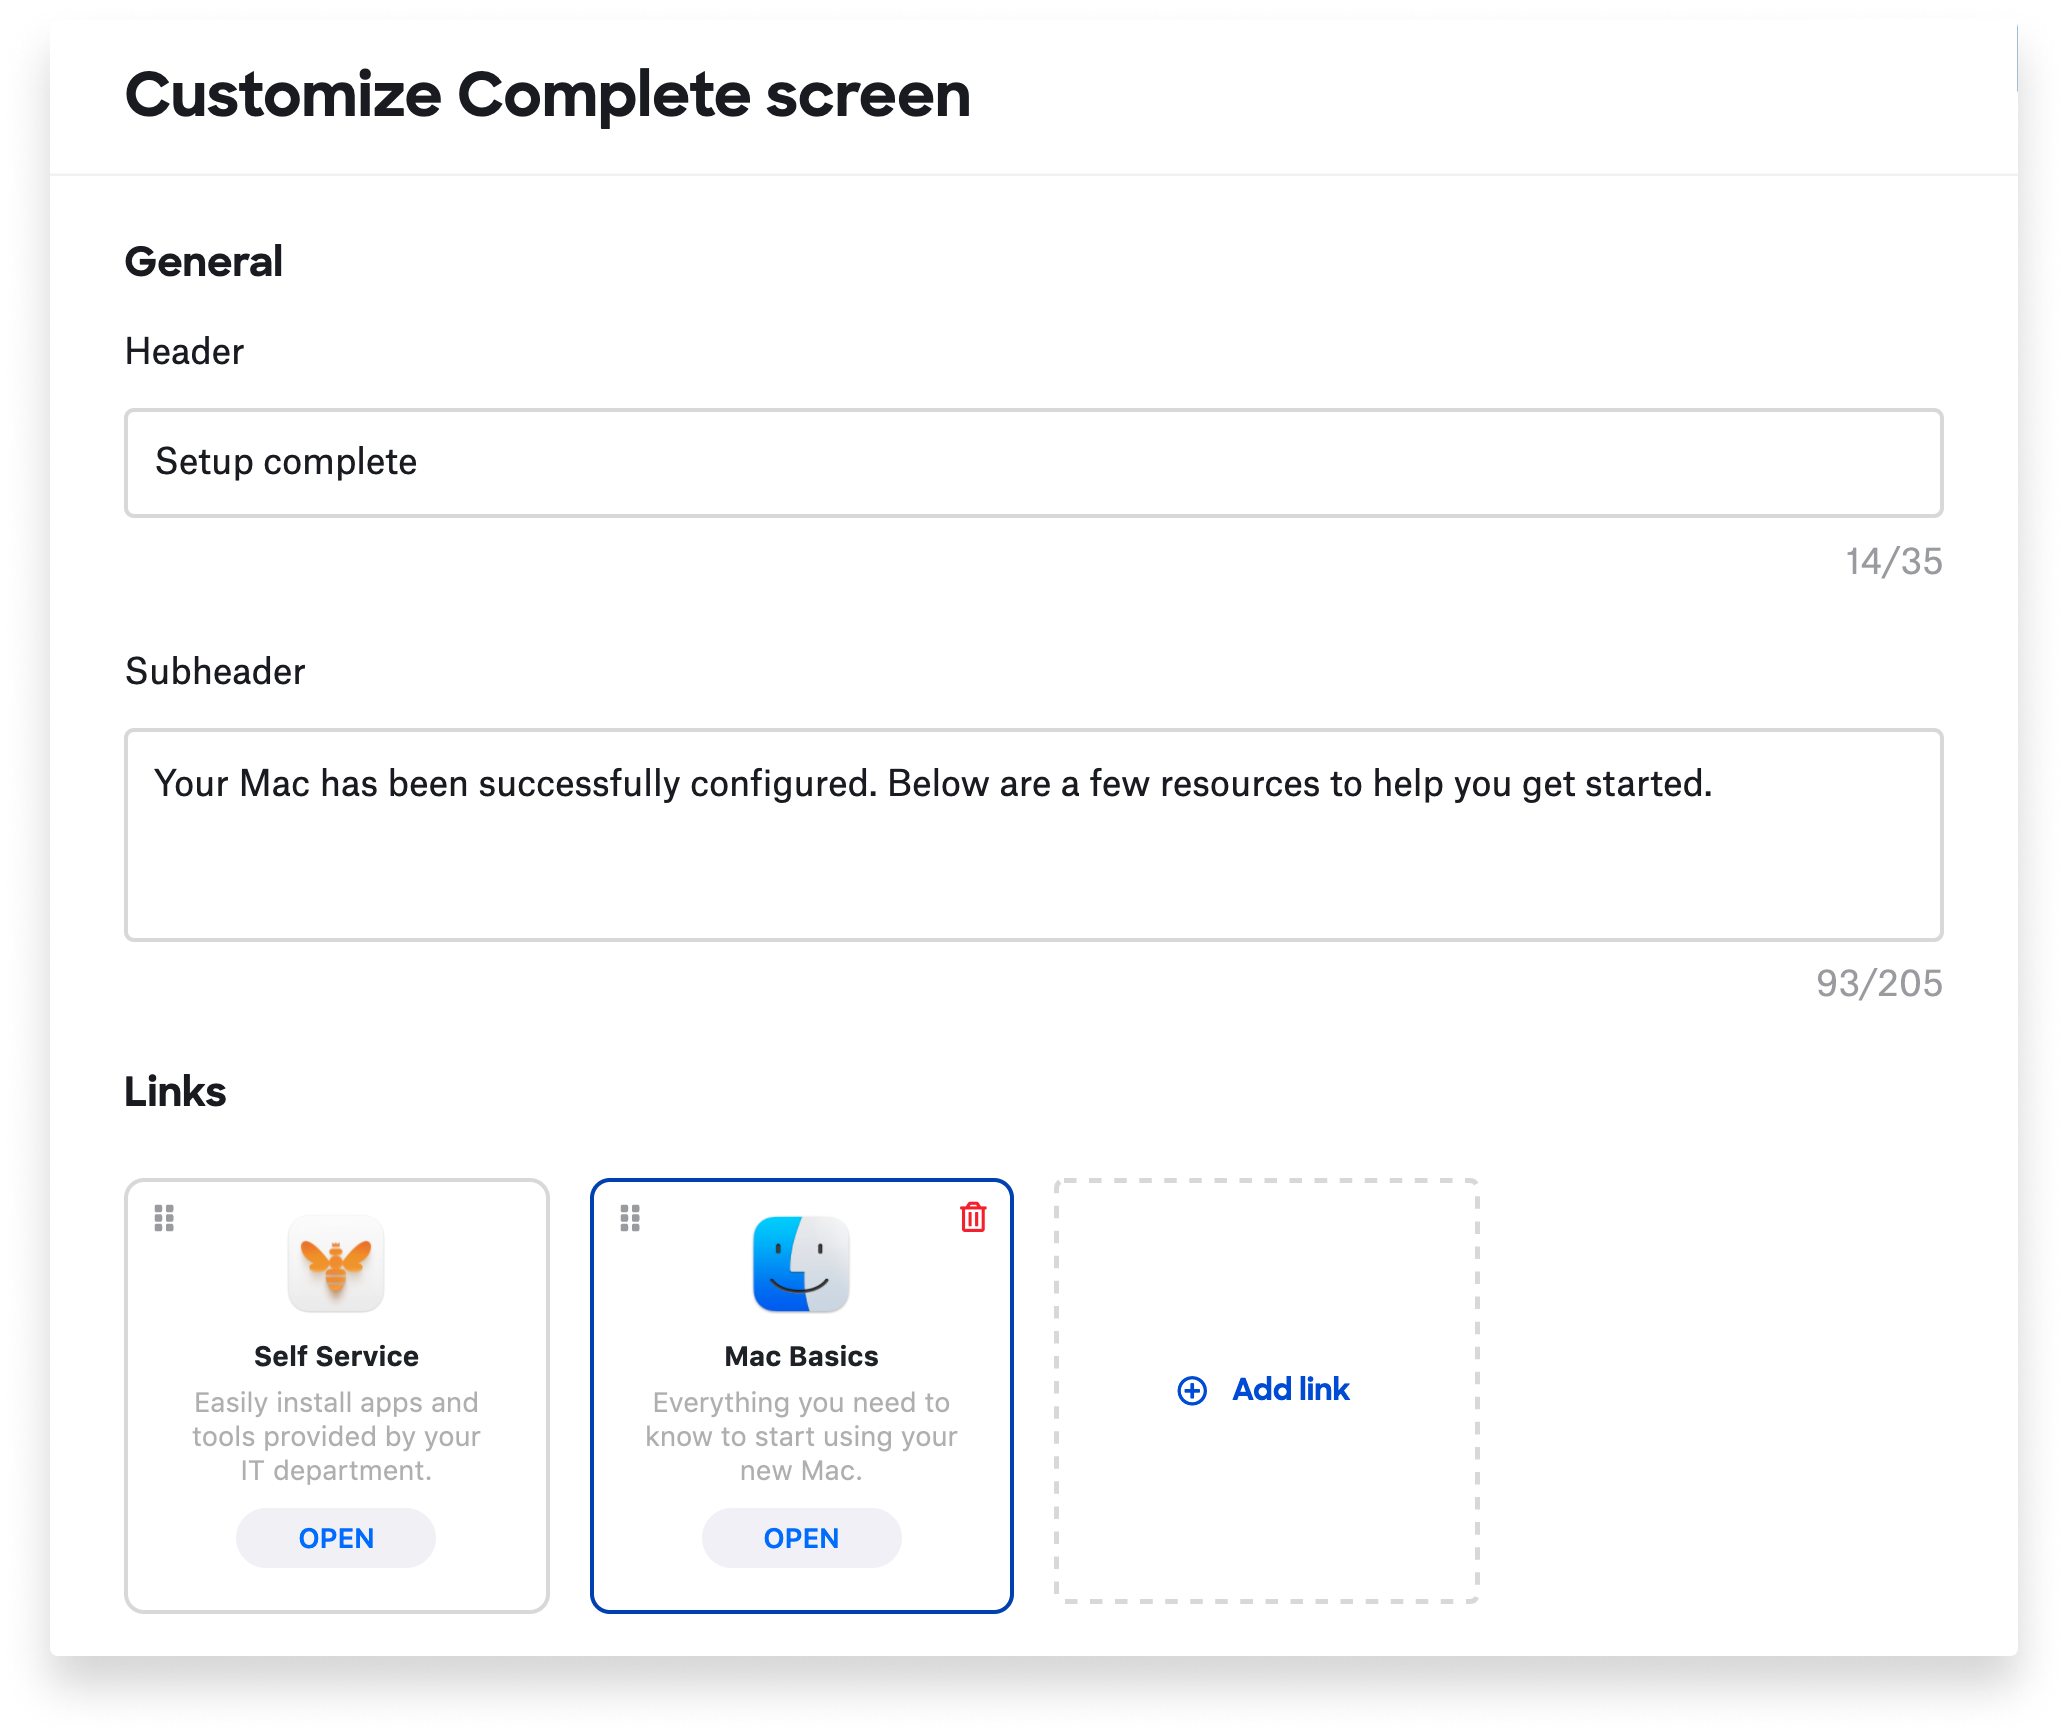
You can also customize the screens that users see: the initial install screen; the help screen (summoned by clicking the question mark in the lower-left corner of the Liftoff window); and the completion screen they see when installation is done. This last one can be populated with up to four “cards,” which can link to additional resources for getting started with the new device. Those cards can include custom icons as well as your own text and URL.
When users first boot up the new computer, they will go through the usual process of choosing a language, region, and Wi-Fi network (unless they’re on Ethernet) and acknowledging the Remote Management screen. It’s also common to use an Automated Device Enrollment library item to prompt users to create a computer account and enable Location Services.
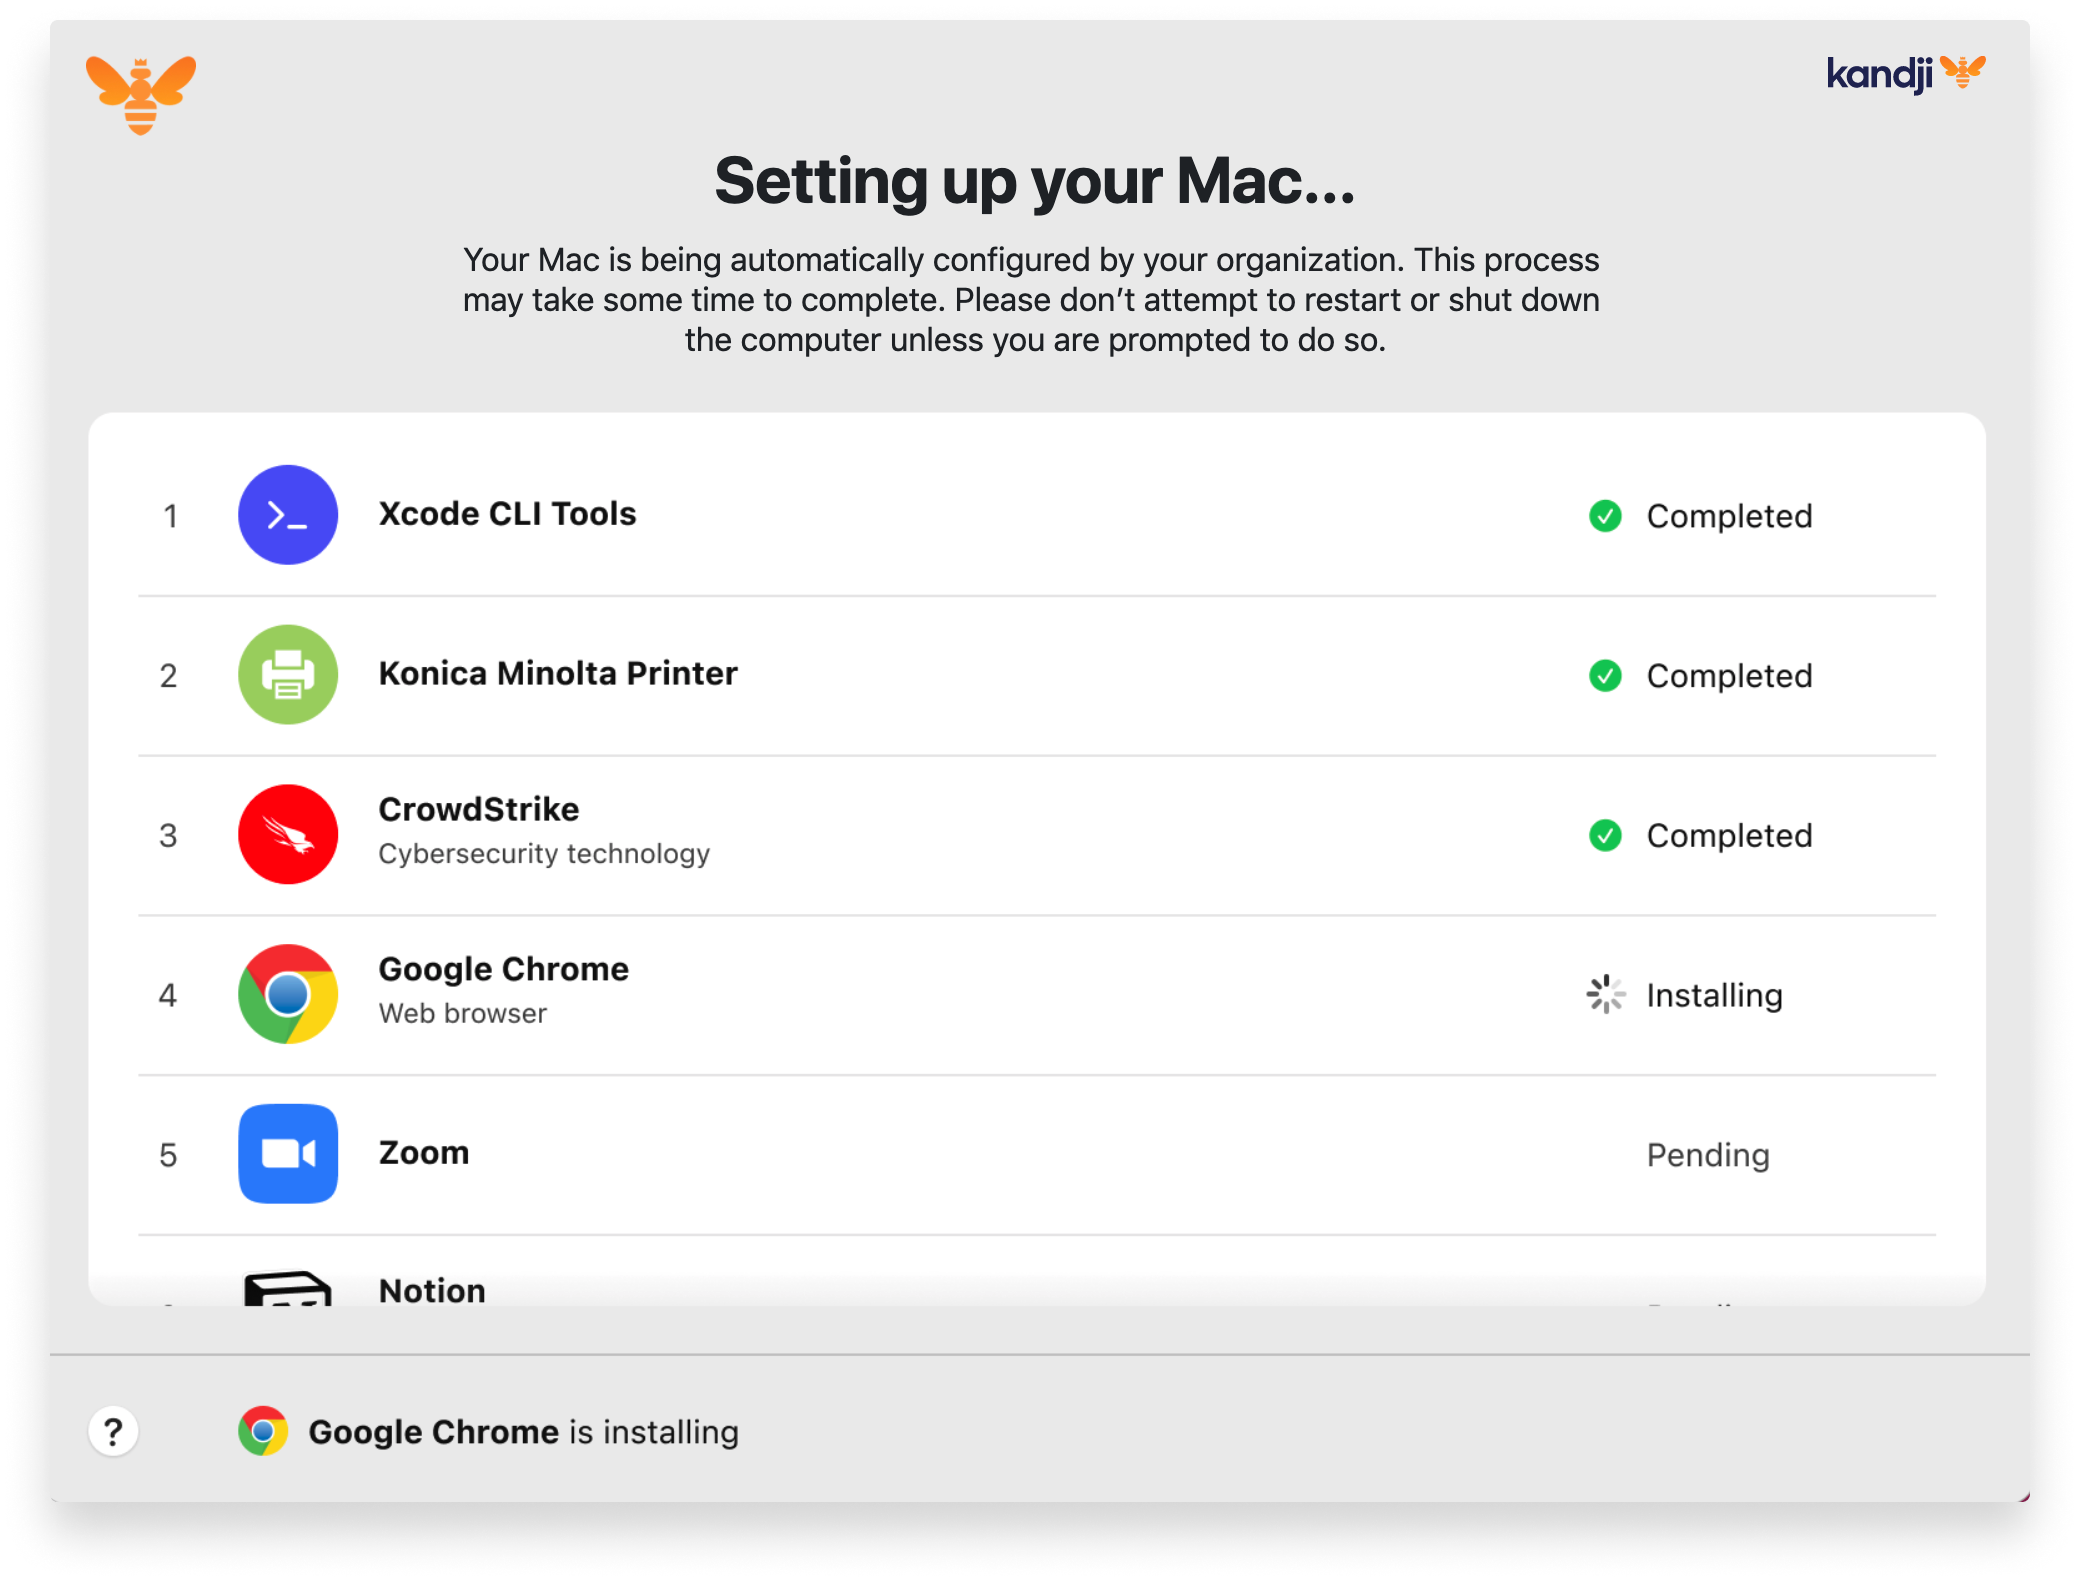
That’s when Liftoff opens, with a quick animation and a clean, elegant window labeled “Setting up your Mac.” That window displays a list of what’s being installed or configured, a green checkmark for everything installed successfully, a status indication for the item that’s currently installing, and notes that the rest are still pending.
One more thing: Liftoff also elegantly handles interruptions. If the Mac loses network connectivity, Liftoff displays a window in which the user can pick a different Wi-Fi network; Liftoff then continues where it left off. If the battery runs low, Liftoff prompts the user to connect to power.
To learn more, check out our Liftoff launch event demo.

 Kandji Team


